
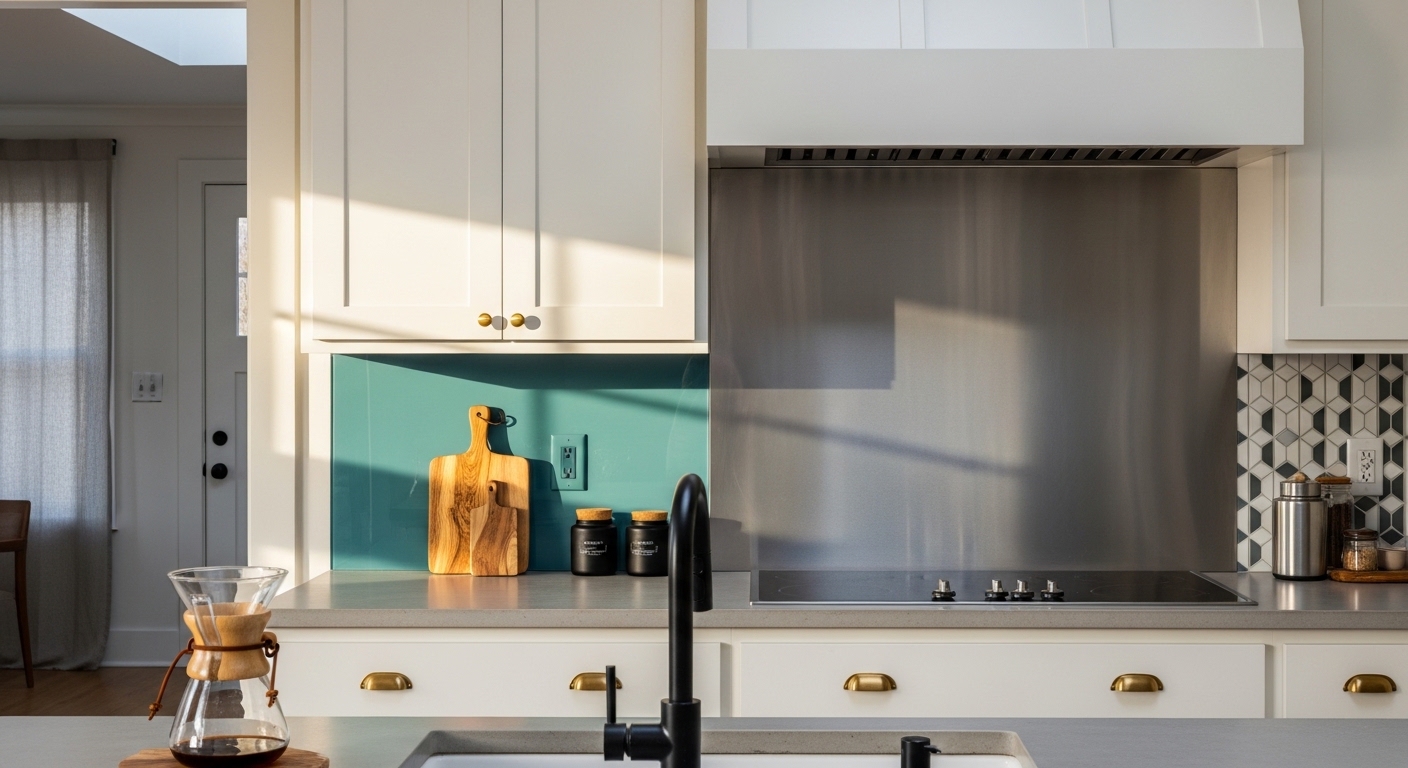

There’s something deeply satisfying about a kitchen that looks polished without the headache of traditional tile work. Grout lines stain, crack, and demand scrubbing sessions nobody signed up for. And honestly? Some of the best-looking kitchens I’ve seen ditch grout entirely.
If you’re hunting for no grout kitchen backsplash ideas that actually look intentional — not like a shortcut — you’re in the right spot. Maybe you’re tired of yellowing grout lines. Maybe you’re mid-renovation and want something you can install over a weekend. Either way, the options have gotten seriously impressive.
Below, you’ll find 16 distinct ideas spanning peel-and-stick solutions, solid surfaces, metal panels, and materials you probably haven’t considered yet. Each one stands on its own, so jump to whatever catches your eye first.
1. Large-Format Porcelain Slab: Seamless Marble Look Without the Maintenance
A single porcelain slab cut to fit your backsplash wall gives you the drama of marble with zero grout lines to maintain. The veining runs uninterrupted across the surface, which makes even a small kitchen feel expensive. Go with a bookmatched pattern if you want that luxury showroom effect.
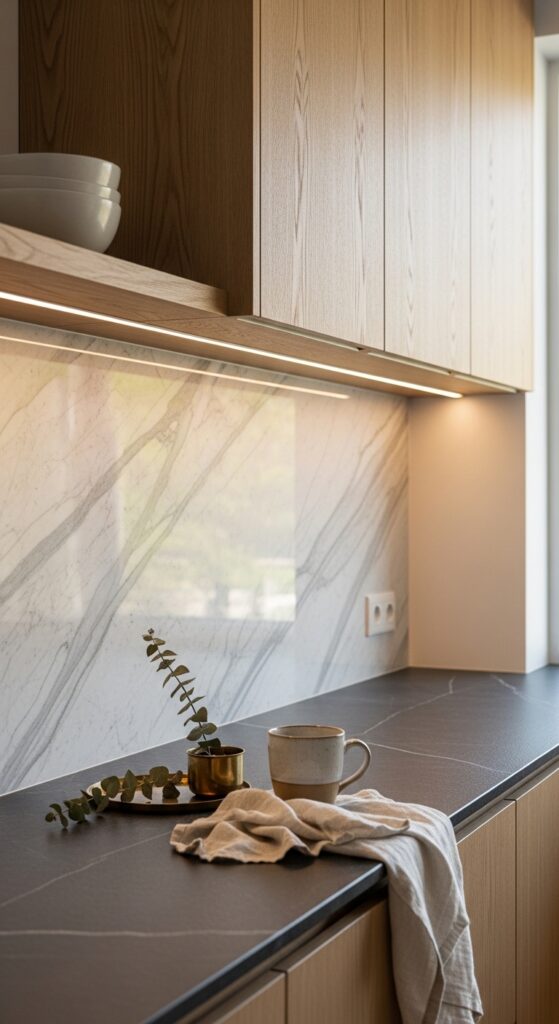
Be realistic though — porcelain slabs aren’t cheap, and installation requires a professional with experience handling large, fragile panels. You’ll also need precise measurements since cuts are unforgiving at this scale.
A grout-free wall is the fastest way to make a kitchen look like it costs twice what it did.
These picks will help you nail the porcelain slab look:
- Large-Format Porcelain Wall Panel — Cover your backsplash in one seamless piece with realistic marble veining for a high-end finish.
- Heavy-Duty Panel Adhesive Cartridge — Secure oversized slabs to your kitchen wall with industrial-strength bond for lasting hold.
- Porcelain Edge Trim Strip — Clean up exposed edges on your slab installation with a sleek metal trim for a polished border.
2. Stainless Steel Sheet Backsplash: Restaurant-Grade Cool for Modern Kitchens
Picture the clean, reflective surface behind the line at your favorite restaurant — now put that in your kitchen. A single stainless steel sheet mounts directly to the wall, wipes clean in seconds, and bounces light around the room like nothing else. It’s especially sharp behind a gas range where grease splatter is a constant battle.
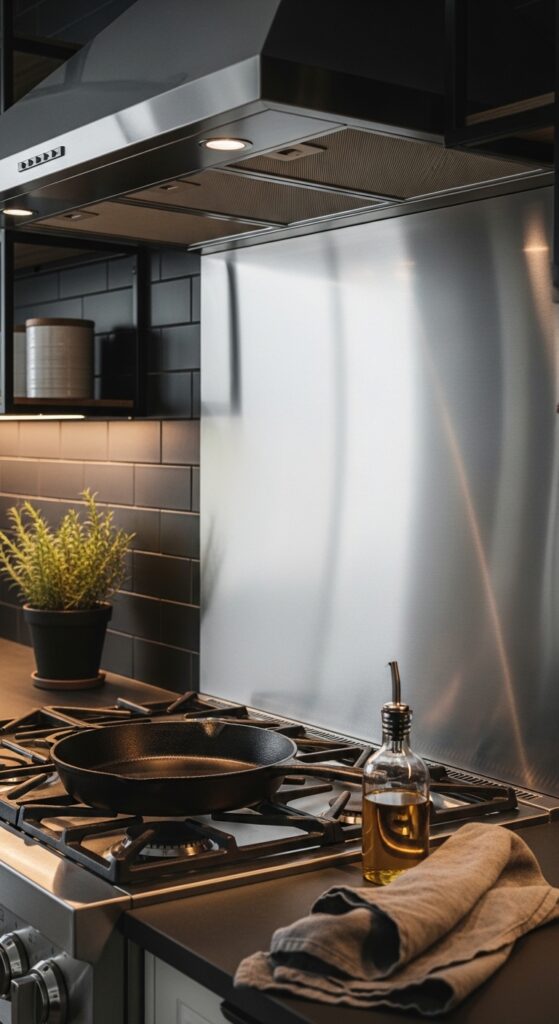
Worth knowing — fingerprints show up on stainless more than you’d expect, especially in brushed finishes. You’ll wipe it down daily if smudges bother you. It also dents if you’re not careful with heavy pans nearby.
Stainless steel doesn’t try to be pretty — it just works, and that’s what makes it beautiful.
Here’s what you’ll need to pull this off:
- Brushed Stainless Steel Wall Sheet — Protect your cooking zone with a wipe-clean metal surface with a professional brushed texture for modern appeal.
- Stainless Steel Cleaner Spray Bottle — Keep your metal backsplash streak-free and gleaming with a residue-free formula for daily maintenance.
- Metal Sheet Mounting Adhesive Tube — Attach steel panels directly to drywall with a heat-resistant adhesive for permanent kitchen installation.
3. Peel-and-Stick Vinyl Tile: Weekend Upgrade on a Renter’s Budget
I’ll be straight with you — peel-and-stick used to look cheap. Not anymore. The newer vinyl tiles mimic subway tile, Zellige, and even terrazzo so convincingly that guests will touch the wall to check. They press right onto clean, flat surfaces and pull off later without damage, which makes them a renter’s best friend.
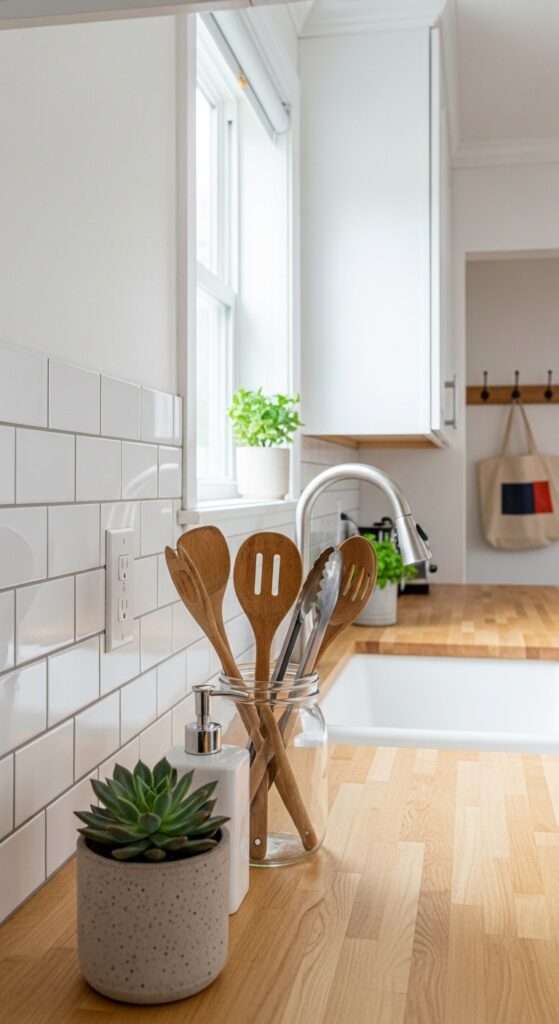
One thing to watch — heat and steam from stovetops can weaken the adhesive over time, especially on cheaper brands. Stick with tiles rated for kitchen use and avoid placing them directly behind gas burners without a heat shield.
The best renter upgrade is the one your landlord never notices you installed.
Get started with these essentials:
- Peel-and-Stick Subway Tile Set — Refresh your kitchen wall in an afternoon with realistic ceramic texture for an instant style boost.
- Surface Prep Cleaning Solution — Ensure maximum adhesion on your backsplash area with a grease-cutting wash for long-lasting stick.
- Tile Edge Finishing Caulk Tube — Seal the borders of your peel-and-stick installation with a waterproof bead for a seamless look.
4. Beadboard Paneling: Cottage Charm That Hides Imperfect Walls
Beadboard isn’t just for porches and mudrooms. Painted in a crisp white or soft sage green, beadboard paneling behind a kitchen sink or open shelving adds instant cottage character. It covers damaged drywall beautifully, installs with basic tools, and costs less than almost any other backsplash material on this list.
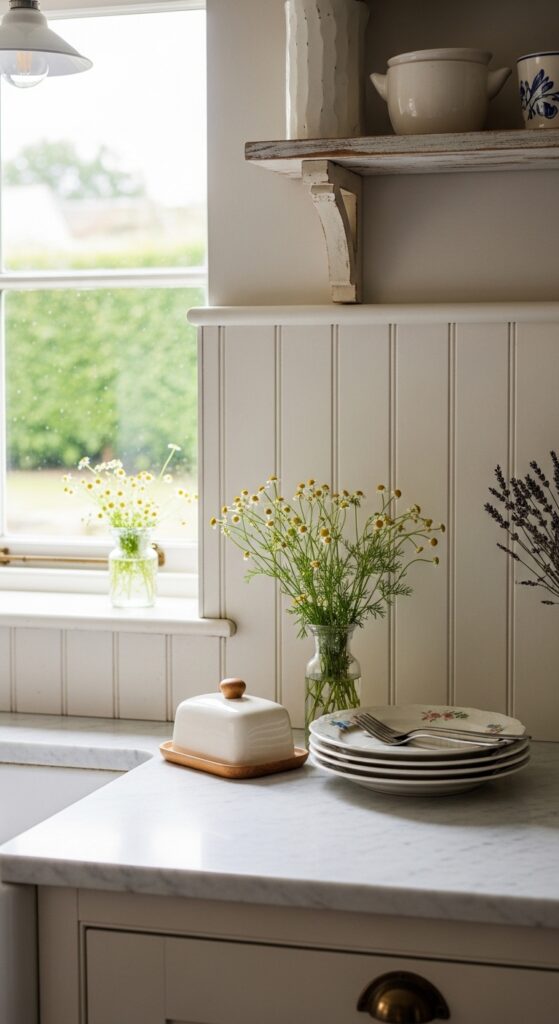
Fair warning — beadboard’s grooves can collect grease and cooking residue over time, especially near the stove. You’ll want to seal it with a semi-gloss or high-gloss paint that’s easy to wipe. It’s also not waterproof on its own, so keep it away from direct water splash zones unless properly sealed.
Cottage kitchens don’t need perfection — they need personality, and beadboard delivers both.
These will get your beadboard backsplash started:
- Primed Beadboard Wainscot Panel — Add vertical texture to your kitchen walls with a ready-to-paint panel for quick cottage-style installation.
- Semi-Gloss Kitchen-Grade Paint Quart — Protect your beadboard from splashes and steam with a wipeable coat for lasting durability.
- Paintable Wood Caulk Tube — Fill gaps between your beadboard and countertop with a flexible seal for a custom-fitted appearance.
5. Pressed Tin Ceiling Tiles Repurposed as Backsplash: Victorian Flair on the Wall
Here’s one most people overlook. Pressed tin tiles — the kind you see on old-fashioned ceilings — mount beautifully as a no grout kitchen backsplash. The embossed patterns catch light and shadow in ways that flat surfaces never could. Spray them in matte black for industrial edge or keep them silver for vintage glamour.
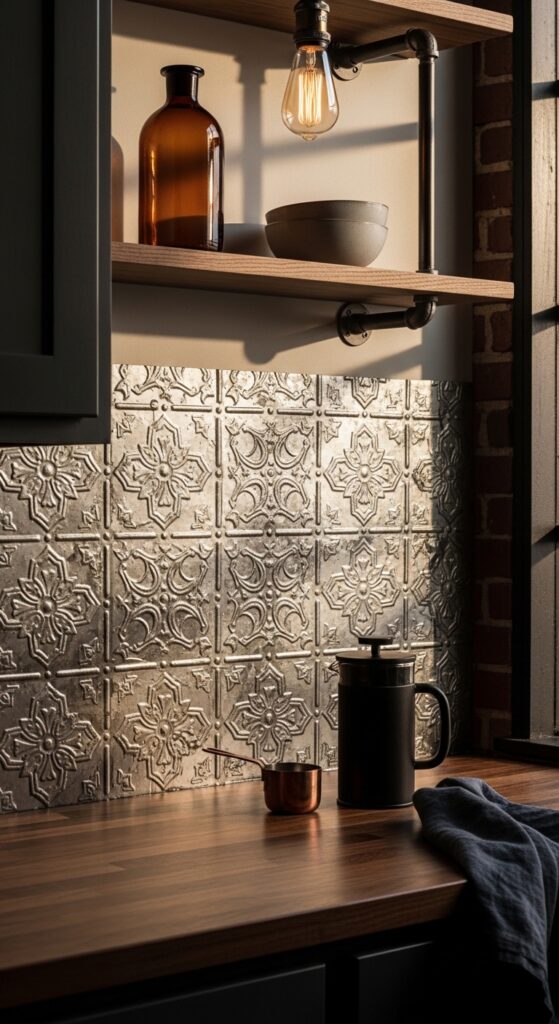
That said — tin tiles can be tricky to cut cleanly around outlets and switches. The metal edges are sharp during installation, so wear gloves. They also require a clear coat or paint to prevent tarnishing in humid kitchens.
Old-world details in a modern kitchen create the kind of tension that makes people stop and stare.
Pull off the tin backsplash with these:
- Embossed Tin Ceiling Tile Pack — Create a textured accent wall behind your range with ornate pressed patterns for vintage kitchen character.
- Clear Satin Lacquer Spray Can — Seal your tin tiles against moisture and tarnish with a protective topcoat for lasting kitchen use.
- Heavy-Duty Tin Snips Set — Cut decorative metal tiles to size around outlets with precision shears for clean backsplash edges.
6. Solid Surface Composite Panel: Corian-Style Seamless Elegance
Solid surface materials like Corian or similar composites can be fabricated into one continuous backsplash piece with no seams, no grout, and no visible joints. The surface matches or coordinates with solid surface countertops, creating a unified flow from counter to wall that’s almost impossible to achieve with any other material.
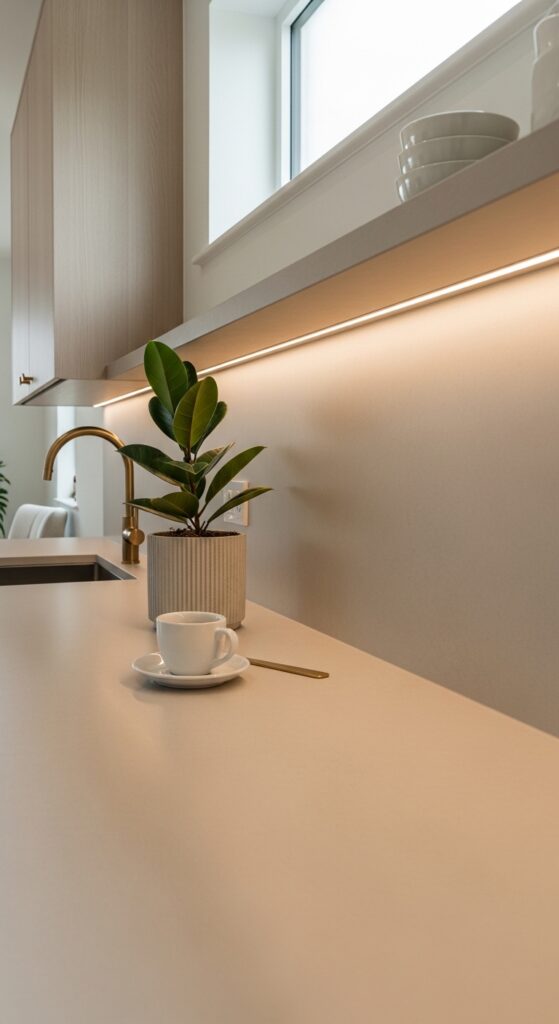
Realistically though — you can’t DIY this one. Solid surface requires professional fabrication and installation. It’s also on the pricier side, and repairs to deep scratches or burns need a specialist with the right sanding tools.
When your countertop and backsplash look like one unbroken surface, the whole kitchen breathes easier.
These items support the solid surface approach:
- Solid Surface Adhesive Cartridge Kit — Bond composite panels to your kitchen wall with a color-matched adhesive for invisible seam joints.
- Fine-Grit Sanding Pad Assortment — Buff minor scratches from your solid surface backsplash with progressive grits for a restored factory finish.
- Non-Abrasive Surface Cleaner Concentrate — Maintain the smooth matte look of your composite wall with a gentle daily formula for lasting clarity.
7. Chalkboard Paint Backsplash: Functional Art You Can Change Every Week
Sometimes the best backsplash is one that changes with your mood. Two coats of magnetic chalkboard paint on a smooth wall surface give you a writable, erasable, constantly evolving backsplash. Jot down grocery lists, let kids draw, or sketch menu ideas right behind the stove.
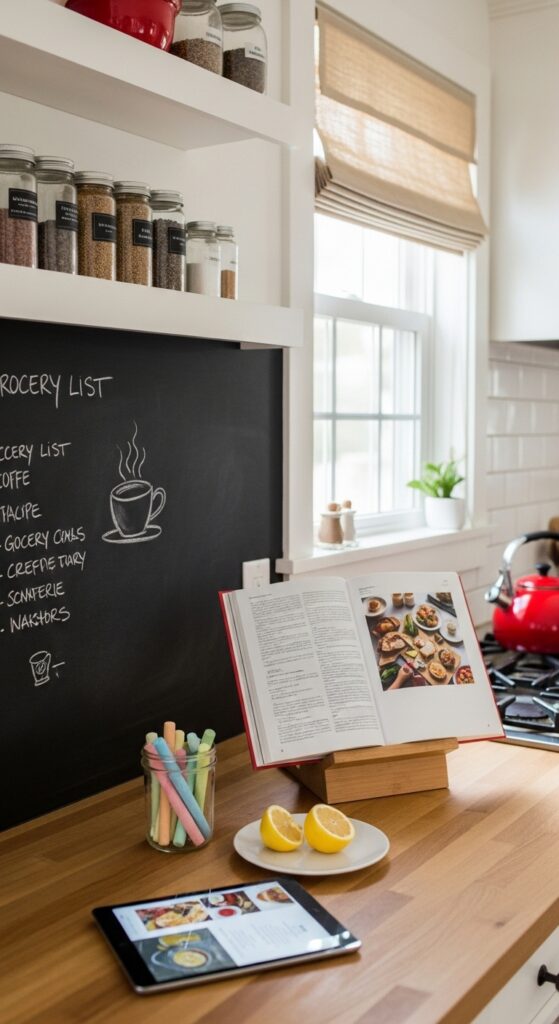
Keep in mind — chalk dust settles on countertops and gets into everything nearby. Liquid chalk markers solve this, but they need a spray cleaner to erase fully. The surface also needs occasional recoating to stay smooth after heavy use.
A kitchen wall that invites you to write on it is a kitchen that actually gets lived in.
Here’s what brings this idea to life:
- Magnetic Chalkboard Paint Quart Can — Turn any flat backsplash area into a writable surface with a two-coat formula for creative kitchen walls.
- Liquid Chalk Marker Bright Set — Write recipes and lists on your backsplash without dust with vibrant erasable ink for clean daily use.
- Chalkboard Surface Conditioning Spray Bottle — Prime and refresh your painted backsplash between seasonal updates with a quick-apply treatment for smooth erasing.
8. Natural Stone Veneer Panels: Real Rock Without the Real Rock Weight
Thin-cut stone veneer panels bring the raw texture of stacked stone into your kitchen at a fraction of the weight and cost of full stone installation. They come in interlocking panels that mount to the wall with adhesive or screws. Think ledgestone in a farmhouse kitchen or slate veneer in a moody, dark-toned space.
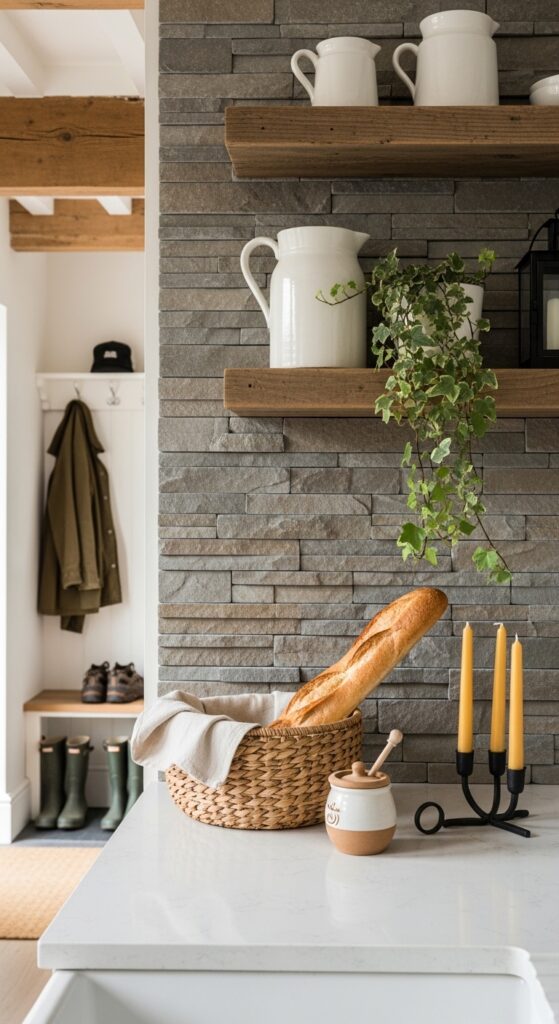
The honest reality — stone veneer has a rough, textured surface that’s harder to wipe clean than smooth alternatives. Cooking grease clings to the crevices. This works best as a backsplash on walls away from the primary cooking zone, or behind open shelving where splatter isn’t a concern.
Real stone on your kitchen wall changes the entire mood of the room — and nobody needs to know it’s a veneer.
Bring the stone wall look home with these:
- Interlocking Stone Veneer Panel Set — Add natural rock texture to your kitchen wall with lightweight panels for easy no-mortar installation.
- Stone Sealer Penetrating Spray Bottle — Shield porous stone surfaces from kitchen grease and stains with a breathable coat for long-term protection.
- Construction Adhesive for Stone Tube — Mount stone veneer panels securely to drywall with a heavy-duty bond for permanent kitchen installation.
9. Glass Sheet Backsplash: Back-Painted Color in One Bold Sweep
A single tempered glass panel, back-painted in any color you choose, creates a mirror-smooth backsplash that’s stupidly easy to clean. The color sits behind the glass, so it never chips or fades. Pick a deep navy, warm terracotta, or even a custom-matched shade that pulls from your cabinets or countertops.
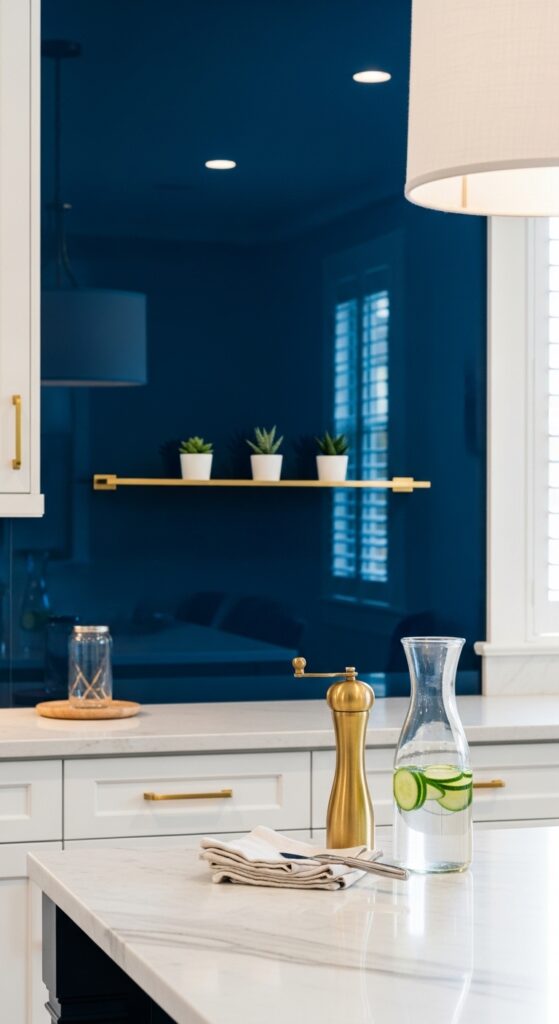
Fair point to consider — glass backsplashes need precise templating for outlets and switches, and professional installation is strongly recommended. Cracked panels can’t be patched; they must be fully replaced. The investment is worth it, but plan for it.
One sheet of colored glass does what fifty tiles and five hours of grouting never could.
These pieces make the glass backsplash happen:
- Back-Painted Tempered Glass Wall Panel — Install a single sleek surface behind your range with custom color options for a bold grout-free statement.
- Glass Panel Mounting Clip Set — Secure your tempered glass backsplash to the wall with discreet hardware for a floating, frameless appearance.
- Streak-Free Glass Cleaner Spray Bottle — Keep your colored glass backsplash spotless with a fast-drying formula for fingerprint-free daily shine.




10. Reclaimed Wood Plank Wall: Warm Texture With Built-In Character
Salvaged barn wood or reclaimed lumber planks mounted horizontally behind open shelving give a kitchen soul that new materials struggle to match. Each plank carries its own grain pattern, nail holes, and color variation. It’s rustic without being kitschy when you balance it with clean countertops and modern hardware.
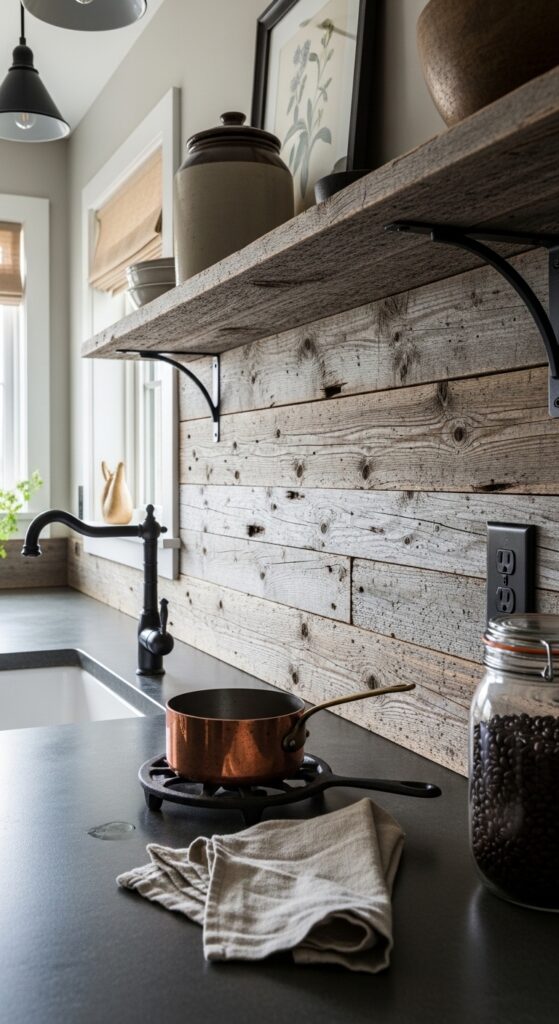
One thing to be aware of — wood and kitchens aren’t natural allies. Moisture, grease, and heat all threaten unfinished wood. You’ll need to seal every plank with a food-safe polyurethane or marine-grade sealant. And keep it away from the area directly behind your stove unless you add a protective clear panel over it.
Wood walls whisper stories that tile walls never can — every plank carries a past.
Build your wood plank backsplash with these:
- Reclaimed Barn Wood Plank Bundle — Line your kitchen wall with weathered timber pieces with natural patina for authentic rustic warmth.
- Food-Safe Polyurethane Satin Finish — Seal reclaimed wood against kitchen moisture and heat with a durable clear coat for protected daily use.
- Hidden Plank Mounting Clip Pack — Attach wood planks to your backsplash wall without visible nails with discreet clips for a clean floating look.
11. Wallpaper Under Tempered Glass: Pattern Lovers’ Dream Shield
This is the trick designers don’t talk about enough. Pick a wallpaper you’re obsessed with — bold florals, geometric prints, moody botanicals — apply it to the wall, then mount a clear tempered glass panel over it. You get the visual punch of wallpaper with full splash protection. The glass lifts right off if you ever want to swap the pattern.
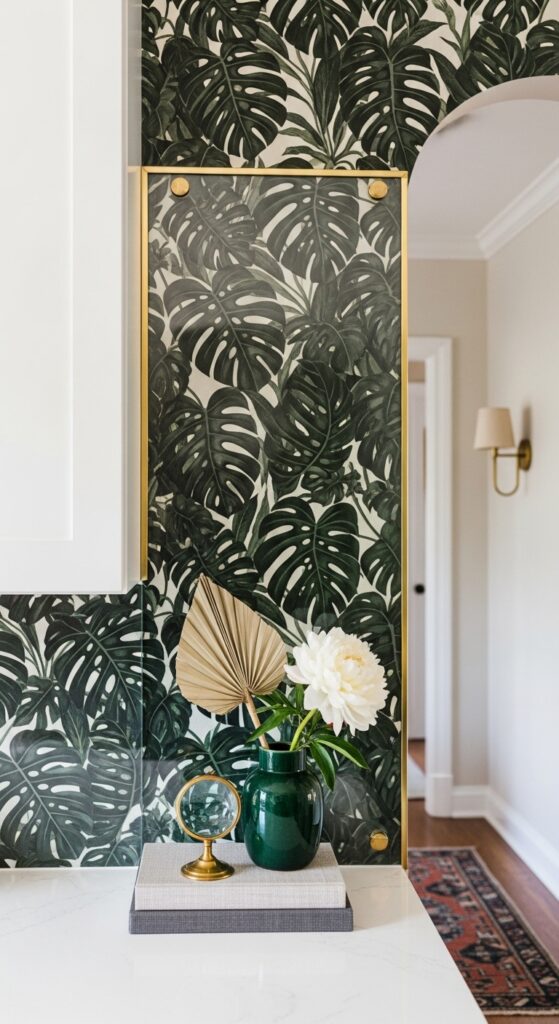
Be prepared though — this is a two-step installation that costs more than either wallpaper or glass alone. You’ll need someone who can template glass precisely, and the wallpaper underneath must be perfectly smooth. Any bubbles or wrinkles magnify under glass.
Protecting your favorite pattern behind glass means you’ll never sacrifice style for practicality again.
Layer this look with these essentials:
- Bold Botanical Peel-and-Stick Wallpaper Roll — Set the visual foundation for your protected backsplash with vibrant patterns for a designer-grade statement.
- Clear Tempered Glass Backsplash Panel — Shield your wallpaper from kitchen splashes and heat with a frameless overlay for lasting protection.
- Wallpaper Smoothing Tool Roller Kit — Eliminate bubbles and wrinkles before glass installation with a precision applicator for flawless results beneath.
12. Concrete Skim Coat Finish: Raw Industrial Texture You Can DIY
A thin microcement or concrete skim coat troweled over your existing backsplash wall creates a raw, industrial-chic surface with zero grout lines and serious visual weight. It works in modern lofts, minimalist kitchens, and even Scandinavian-inspired spaces when finished in a light grey or warm white tone.
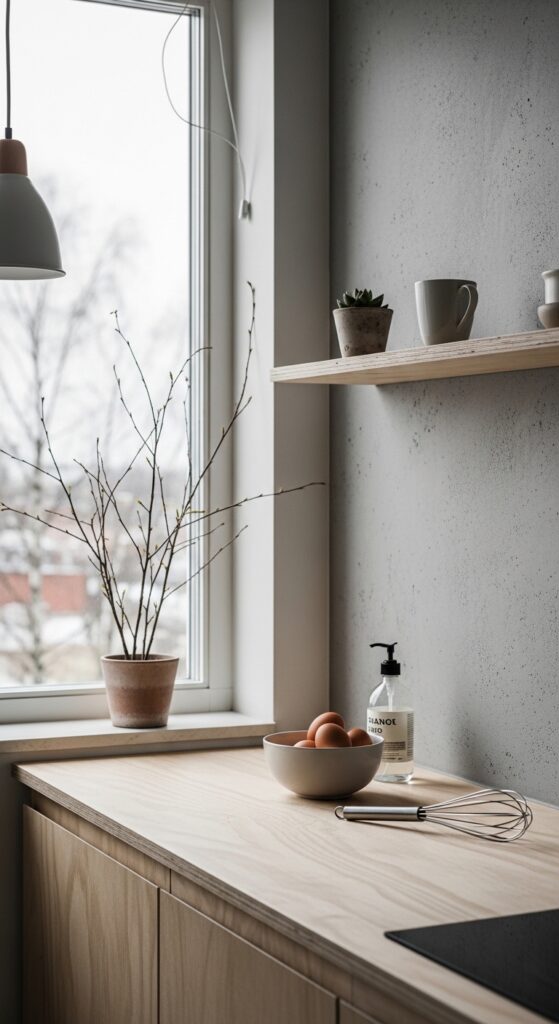
Honestly though — the application technique matters more than the material. Uneven trowel strokes leave obvious marks, and the learning curve is real. Practice on a scrap board first. You’ll also need to seal it thoroughly since concrete is naturally porous and will absorb splashes like a sponge.
Concrete on a kitchen wall makes everything around it look more intentional — including you.
Get the concrete backsplash look with these:
- Microcement Skim Coat Starter Kit — Apply a smooth industrial finish over any existing surface with a ready-mix formula for thin concrete walls.
- Concrete Backsplash Sealer Matte Finish — Waterproof your skim coat against kitchen grease and moisture with a clear protective layer for daily cooking use.
- Stainless Steel Finishing Trowel Tool — Spread microcement evenly across your backsplash wall with a flexible blade for professional-grade texture control.
13. Acrylic Wall Panel in Bold Color: High-Gloss Pop Without the Commitment
High-gloss acrylic panels — sometimes sold as kitchen splashbacks — come in nearly any color and mount with adhesive directly onto the wall. They reflect light like glass but weigh less and won’t shatter. A fire-engine red or cobalt blue acrylic panel behind a white kitchen creates a focal point you can feel across the room.
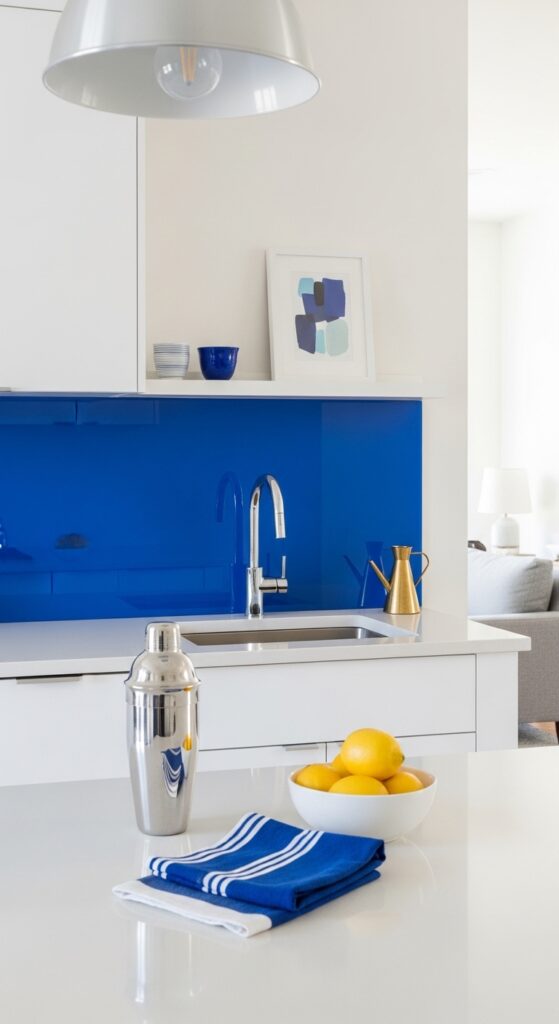
Just know — acrylic scratches more easily than glass. Abrasive sponges and harsh cleaners leave permanent marks. Stick with microfiber cloths and gentle spray. It’s also not rated for direct heat exposure, so leave a gap or install a separate heat shield behind gas ranges.
Bold color on one wall does more for a kitchen than a full renovation ever could.
Add acrylic punch to your kitchen with these:
- High-Gloss Acrylic Kitchen Splashback Panel — Mount a vibrant color statement behind your countertop with a lightweight glossy surface for instant kitchen energy.
- Microfiber Cleaning Cloth Multi-Pack — Wipe your acrylic backsplash without scratching with ultra-soft cloths for streak-free daily care.
- Acrylic-Safe Panel Adhesive Cartridge — Bond glossy acrylic panels to your kitchen wall with a solvent-free formula for damage-free installation.
14. Cork Tile Backsplash: Warm, Sound-Absorbing, and Surprisingly Chic
Cork isn’t just for wine bottles and bulletin boards. Sealed cork tiles bring a warm, honeyed texture to kitchen walls that absorbs sound and softens the feel of a hard-surfaced room. They’re naturally antimicrobial, pin-friendly for hanging recipes, and they pair beautifully with wood cabinets and earth-toned countertops.
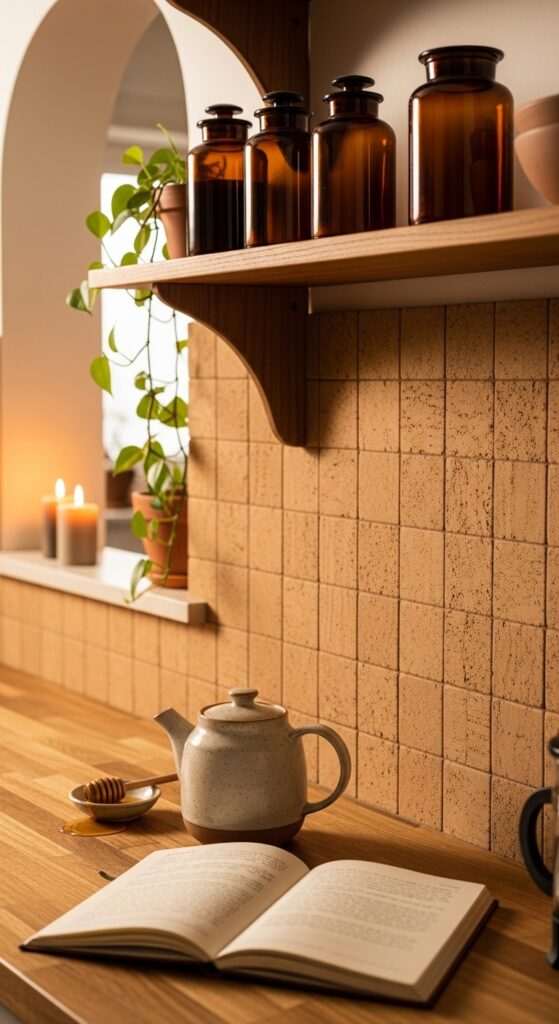
Practically speaking — cork must be sealed with a water-resistant finish for kitchen use, and it darkens with sun exposure over time. It’s also soft enough to dent or gouge from sharp impacts. Best used on walls away from heavy traffic and direct water exposure.
Cork on a wall quiets down a kitchen in every sense — visually and acoustically.
Try the cork backsplash route with these:
- Natural Cork Wall Tile Square Pack — Add warm organic texture to your kitchen backsplash with self-adhesive squares for simple peel-and-place coverage.
- Water-Resistant Cork Sealer Quart — Protect your cork wall tiles from kitchen humidity and splashes with a clear brush-on coat for moisture resistance.
- Cork-Compatible Contact Adhesive Bottle — Reinforce adhesion on tricky wall surfaces with a dual-bond formula for secure cork tile installation.
15. Mirrored Backsplash Panel: Double the Light, Double the Space
A mirror-finish panel mounted behind the sink or countertop bounces every bit of natural and artificial light right back into the room. In small kitchens, it genuinely makes the space feel twice as large. Antiqued mirror panels add a vintage patina while still reflecting light, if full-glare mirrors feel too intense.
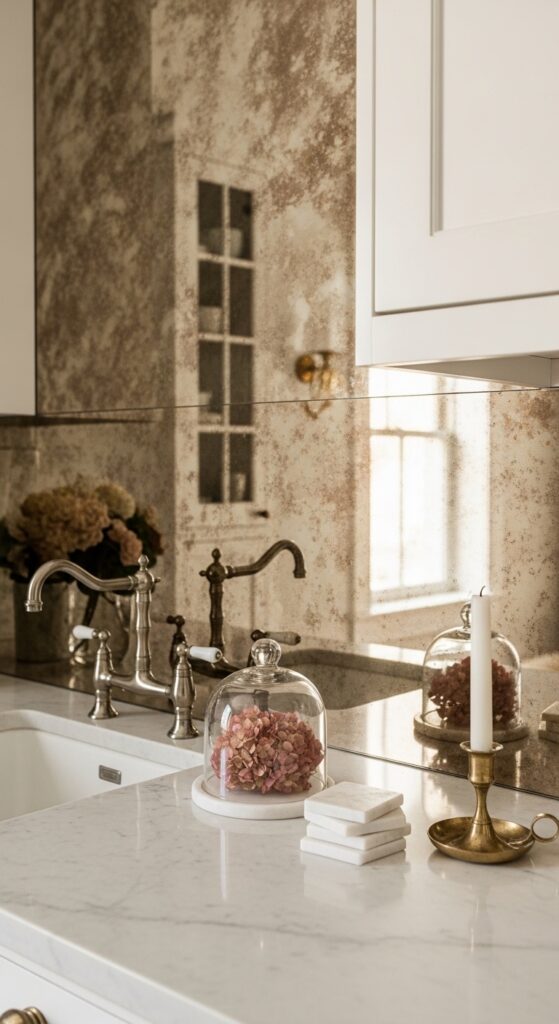
Truthfully — mirrors behind cooking areas show every single splatter, smudge, and fingerprint in HD. You’ll clean this backsplash more often than any other option on this list. Consider placing it behind the sink or coffee station instead of directly behind the stove.
A mirror backsplash doesn’t just reflect your kitchen — it multiplies everything good about it.
Light up your kitchen with these:
- Antiqued Mirror Backsplash Panel Sheet — Expand your kitchen visually with a vintage-toned reflective surface for warm doubled light.
- Frameless Mirror Mounting Adhesive Strip — Hang mirrored panels securely without drilling with a heavy-duty peel-and-press bond for rental-safe installation.
- Glass and Mirror Polish Cream Tube — Remove water spots and cooking film from your reflective backsplash with a gentle buffing compound for crystal-clear shine.
16. Shou Sugi Ban Charred Wood Panels: Japanese-Inspired Drama That Resists Moisture
The ancient Japanese technique of charring wood with fire creates a blackened, textured surface that’s naturally resistant to moisture, insects, and rot. Shou sugi ban panels on a kitchen wall deliver an intensity that no paint color or tile pattern can match. The contrast against white counters or brass hardware is nothing short of striking.
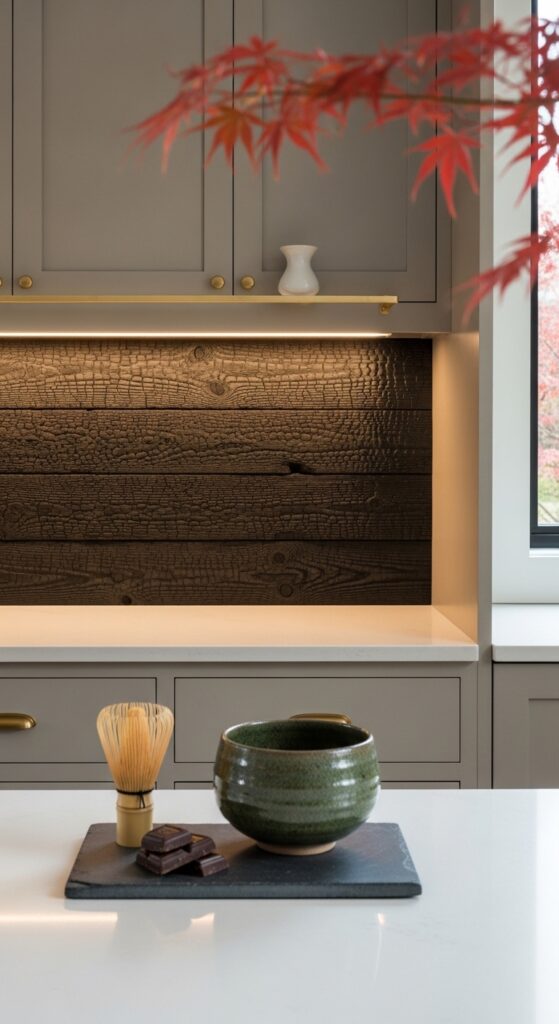
Worth noting — the charred surface can shed fine carbon dust during and after installation if not sealed properly. A quality clear sealant is non-negotiable. The smell of smoke also lingers during the charring process if you’re doing it yourself, so buy pre-charred panels to skip that step entirely.
Fire-blackened wood on your kitchen wall carries centuries of craft in every charred grain.
Bring shou sugi ban into your kitchen with these:
- Pre-Charred Cedar Wall Plank Set — Install authentic Japanese-style burned wood on your backsplash with sealed planks for dramatic kitchen texture.
- UV-Resistant Clear Wood Sealant Can — Lock in the deep carbon finish of your charred panels with a protective topcoat for kitchen-grade moisture resistance.
- Brad Nail Gun for Thin Panels — Fasten delicate charred wood planks to your wall without splitting with a precision tool for clean no-damage mounting.

InsideMake exists for one reason — to help you love your home more. We bring expert decor insights and room-specific inspiration directly to you.